The bypass channel has been constructed to take the canal flow from the Slad Brook and Painswick Stream around Dudbridge Upper & Lower Locks.
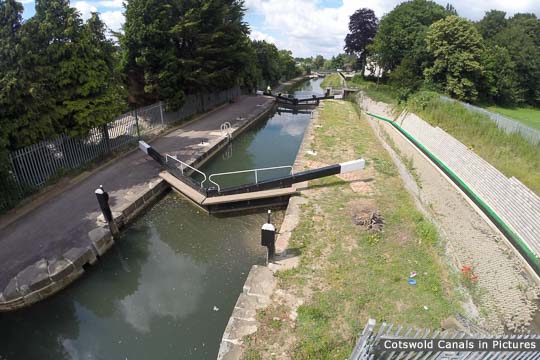
This is a separate channel from the Hydro-electric scheme, although they were constructed at the same time. The channel around the upper lock is open, as can be seen in the second photo.
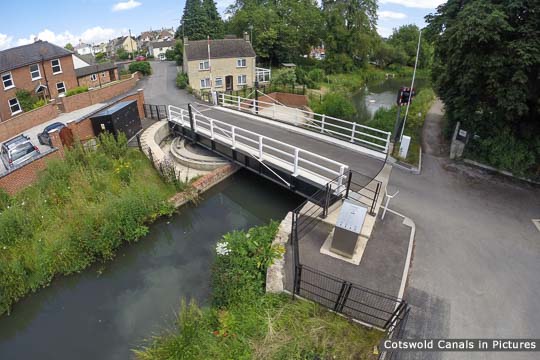
The bypass channel also includes a fish pass, which is the separate small channel to the left within the main channel (bright green liner). At the end of the open section the channel then enters a 1.8m diameter pipe (top photo) which takes the flow past the lower lock. The water, with that from the hydro scheme, is discharged through an outlet under Dudbridge Road Bridge.
The third photo shows the bypass channel weir, where water enters the channel. The fish pass is to the left.
(Tap / click images to enlarge)